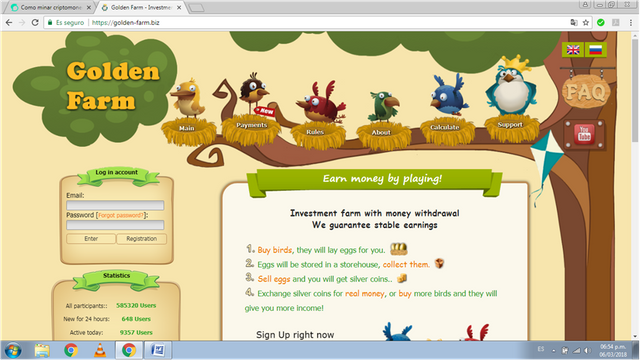
Recently I have found the Golden Farm platform, which allows to mine in the cloud and receive payments in Bitcoin or Rubles, here I leave the basic steps to create an account and start mining:
(in the upper right corner there is the option to change the language between English and Russian)
1.- Create an account:
Like any other platform you must create an account with several basic data, through this link you can access the platform, and you will become a referral ...
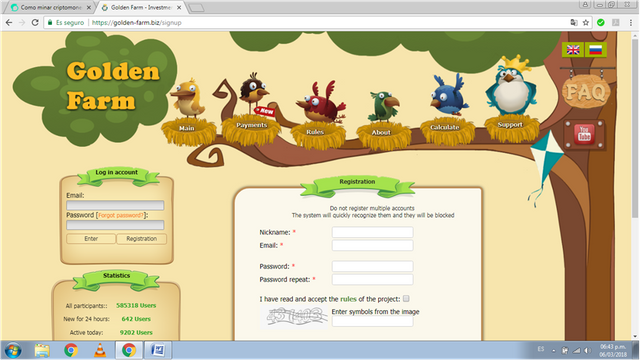
The platform is a simple game that consists on having birds that lay eggs, which can then be sold for silver coins, at first you will have a green bird and 300 silver coins ...
2.- Look for your daily reward:
To get your first reward you must go to the daily bonus section ...
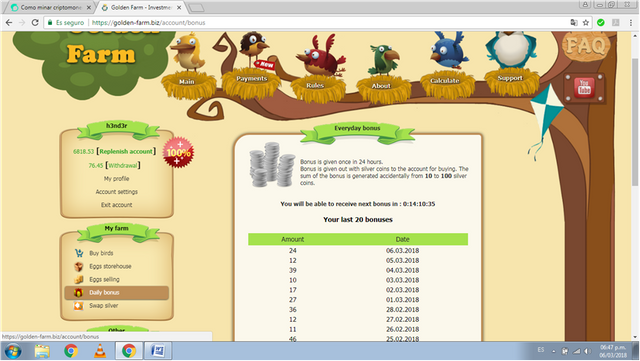
You can get daily rewards from 10 coins to 100, you can ask for your reward every 24 hours ...
3.- Collect the eggs:
To collect the eggs you must go to the egg storehouse section, and on the collect all button, collect all the eggs ...

4.- Sell the eggs:
By going to the egg selling section, you can sell the eggs, every 100 eggs equals 1 silver coin ...
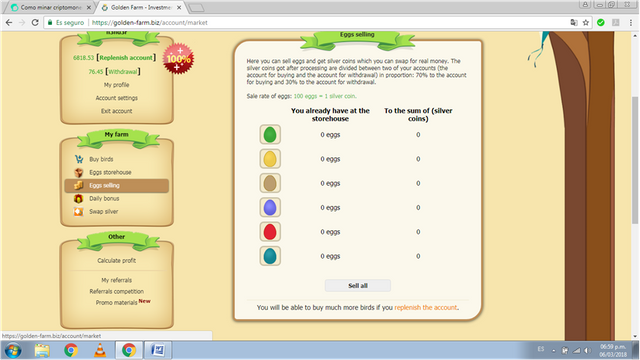
Each time you sell, 70% of the coins will be awarded to the account to buy birds and 30% will be awarded to the retirement account ...
5.- Buy birds:
At the Buy birds section you can buy birds, to get more profits ...
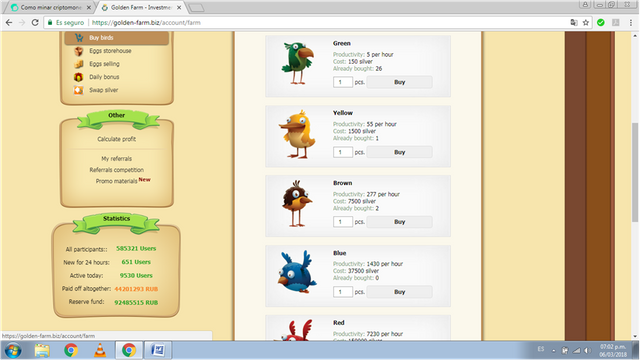
The more expensive the bird, the more eggs it will produce ...
6.- Withdrawal of currencies:
At the Withdrawal option you can withdraw the balance you have in the purse ...
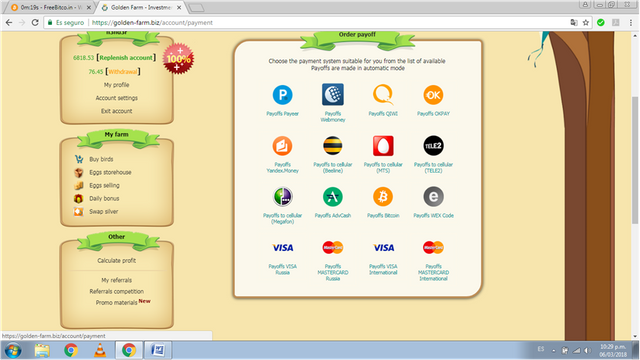
Among the options you have Payeer with which you can withdraw in Rubles immediately, you also have the option to make withdrawals in Bitcoin or credit cards, among others ...
7.- Fill the account:
It is important to note that to make withdrawals it is necessary to fill the account with a small amount, for them you enter the option replenish account, where you have the options to transfer ...
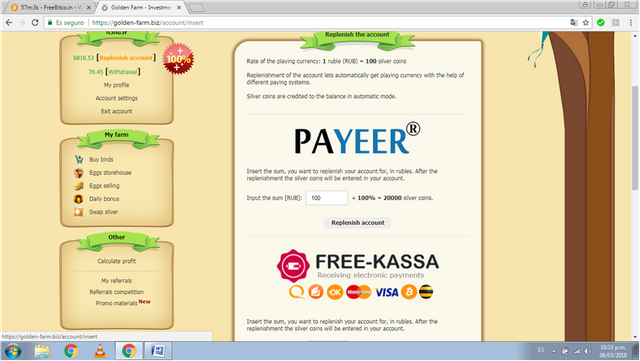
It is necessary to transfer the equivalent to 100 rubles ...
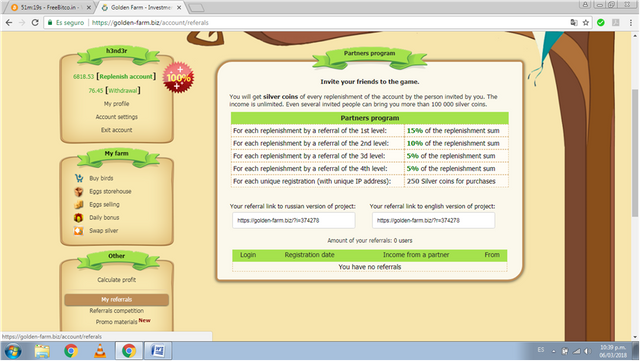
8.- Referrals:
It is important to invite several referrals to obtain a higher percentage of reward, at the moment of making transfers to the platform...
9.- Gold:
Gold calculate the sum of money for withdrawal from the platform...
1 gold = 1 RUB. For withdrawal from the system 100 RUB you need to have 100 gold on your account....
1 gold = 1 RUB. For withdrawal from the system 100 RUB you need to have 100 gold on your account....
Gold is credited for:
- At replenishment you're credited with the gold of 40% of the replenish sum.
- At replenishment of the account by a referral of the 1st level, 20% go to the gold.
- At replenishment of the account by a referral of the 2nd level, 10% go to the gold.
- At replenishment of the account by a referral of the 3d level, 5% go to the gold.
and if you want to access to FreeBitCoin: https://golden-farm.biz/?en=kadolf#golden#farm#gold#investment


